
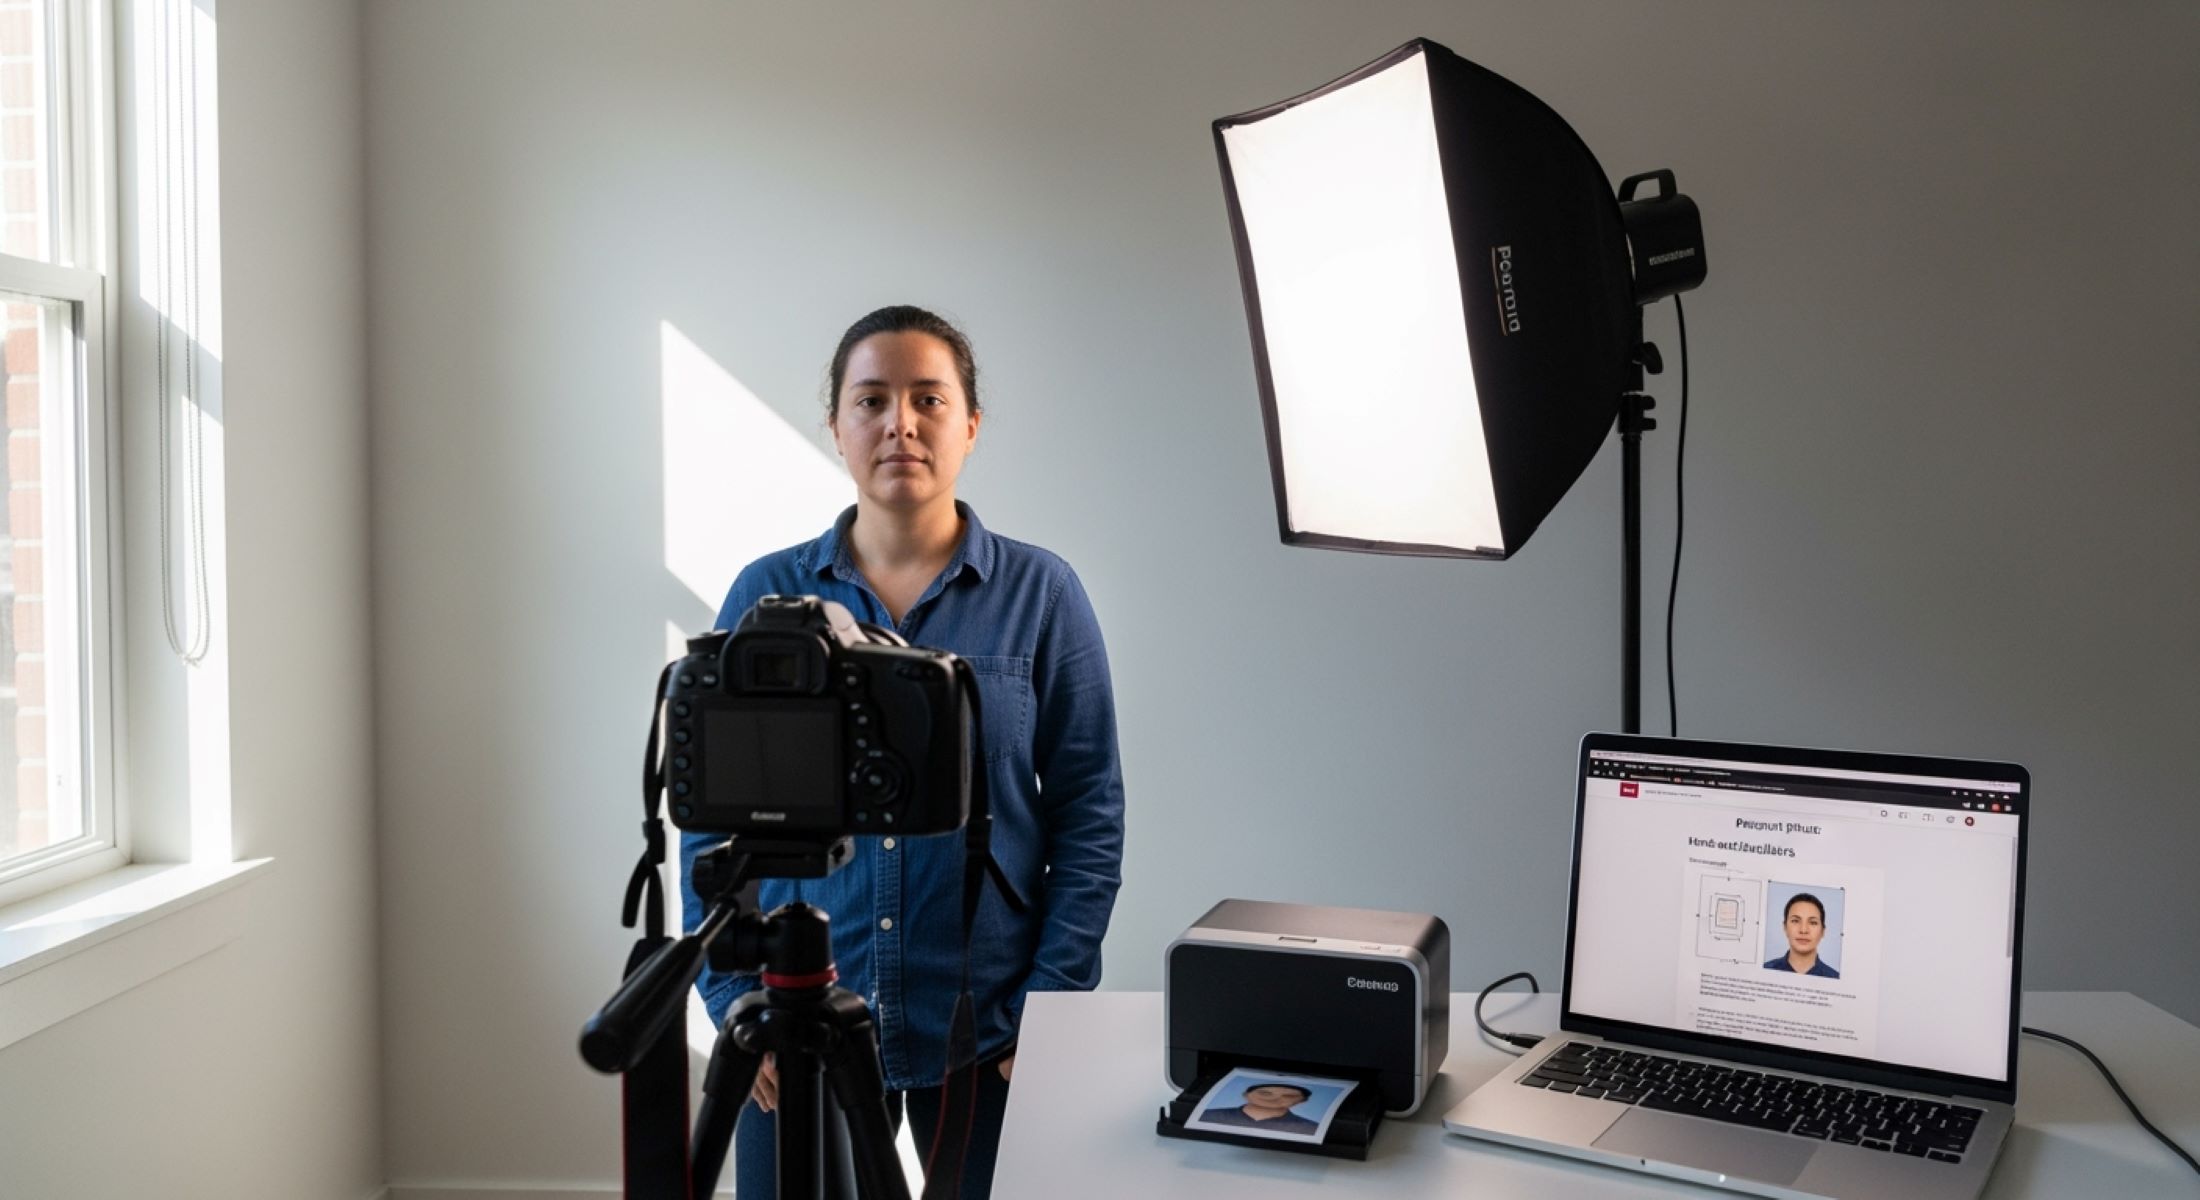
Taking a passport photo at home may seem easy, but it comes with its own set of challenges. You want it to look professional, meet all the strict government requirements, and, of course, avoid any costly rejections. One of the biggest questions for DIY passport photography is: should you use a tripod? Let’s dive in and explore why a tripod might just be your best friend in this scenario.
Why Passport Photos Are Tricky
Taking a passport photo may seem simple at first glance, but anyone who has tried it knows it’s a lot trickier than snapping a casual selfie. The main reason is the strict guidelines that govern how these photos must look. Every country has specific rules regarding head size, facial expression, eye position, and the proportion of your face in the frame. Even tiny deviations, like a slightly tilted head or a small shadow under the chin, can lead to rejection. These rules exist because passport photos are used for official identification, so precision and consistency are critical. Unlike casual photography, there’s no room for artistic flair or creative angles—everything must conform to exact standards.
Lighting plays a crucial role in passport photos, yet it’s often underestimated. Uneven lighting can produce harsh shadows on the face or background, which may obscure facial features and make your skin tone look unnatural. Many people make the mistake of relying solely on indoor overhead lighting, which can cast unflattering shadows under the eyes, nose, and chin. Natural daylight is preferable, but even then, the angle of the light and surrounding reflections must be carefully managed. Poor lighting can result in a photo that doesn’t meet official standards, even if everything else appears correct.
Framing is another challenge that makes passport photos tricky. The photo must capture the subject’s face, neck, and shoulders in exact proportions, with the eyes at a specific height relative to the frame. Any slight tilt, uneven cropping, or off-center positioning can render the photo invalid. This may sound minor, but passport offices are extremely strict—they won’t manually adjust your photo to fit the requirements. Without careful framing, it’s easy to waste time and money taking multiple attempts. This is especially difficult if you’re holding the camera by hand, where even small movements can slightly shift the composition.
Finally, these challenges compound when attempting a DIY passport photo without a tripod. Handheld shots make it harder to maintain stability, consistent framing, and proper lighting, which increases the likelihood of mistakes. Without a fixed position, even minor adjustments like leaning forward or tilting your head slightly can break compliance. Additionally, repeated attempts can cause fatigue, further increasing errors. For anyone aiming to get a passport photo right on the first try, understanding these obstacles is crucial—and it highlights why using tools like tripods can make a significant difference.
The Role of a Tripod in Passport Photography
| Feature | Challenge Without Tripod | How Tripod Helps | Practical Tip | Result |
| Stability | Handheld shots can be blurry due to small movements. | Holds camera steady, preventing shakes. | Use a sturdy tripod or tabletop model, especially for smartphones. | Clear, sharp photos without motion blur. |
| Consistency | Each shot may vary in angle or distance. | Keeps the camera in a fixed position for multiple photos. | Set the tripod once and leave it in place for several shots. | Uniform photos, reducing trial-and-error. |
| Framing | Hard to center face and maintain proper proportions. | Allows precise adjustment to frame head and shoulders perfectly. | Use the tripod’s adjustable height and angle to match official guidelines. | Properly framed photos with head occupying 70–80% of the frame. |
| Lighting Alignment | Moving the camera changes how light hits the face. | Keeps camera angle constant relative to light sources. | Position your tripod so that natural or artificial light falls evenly on the face. | Even lighting without harsh shadows or overexposure. |
| Ease of Shooting | Handheld shooting requires awkward holding, timer guessing, or a friend’s help. | Frees your hands and allows remote shutter or timer use. | Pair the tripod with a timer or remote shutter for best results. | Comfortable, efficient photo session with minimal mistakes. |
Lighting and Tripods: A Dynamic Duo
Lighting is just as important as stability when taking a passport photo. Without proper lighting, even a perfectly framed and steady shot can be rejected due to shadows, uneven skin tones, or washed-out colors. When shooting handheld, small movements can drastically change how light hits your face, creating inconsistent results. Using a tripod ensures that your camera remains in a fixed position, making it much easier to control and perfect your lighting setup. Here’s a detailed list of ways a tripod improves lighting for DIY passport photos:
- Prevents Shifts in Light Angles: When holding a camera by hand, even tiny movements alter the angle of light, which can produce shadows under the chin, around the nose, or behind the head. A tripod locks the camera in place, ensuring consistent lighting across multiple shots.
- Simplifies Use of Natural Light: If you’re relying on sunlight from a window, a tripod helps you position your camera at the right height and distance while keeping it steady, so your face is evenly lit without harsh shadows or glare.
- Works Seamlessly with Artificial Lighting: Using lamps, softboxes, or ring lights becomes much easier because the camera remains fixed. You can adjust your lights without needing to constantly reframe the camera.
- Enhances Even Illumination: Tripods allow you to line up multiple light sources symmetrically, ensuring soft, uniform lighting that flatters the face and meets passport photo standards.
- Reduces Glare and Hot Spots: With the camera fixed, you can fine-tune the position of lights to minimize glare on the forehead, glasses, or cheeks, producing a professional-quality photo.
- Supports Multi-Shot Consistency: When taking several photos to select the best one, a tripod ensures each shot has identical lighting, eliminating the frustration of inconsistent exposures.
- Allows Hands-Free Adjustments: You can tweak lighting without touching the camera, which prevents accidental shifts that could ruin your shot.
- Pairs Well With Timers or Remote Shutters: Using a tripod in combination with a timer or remote shutter keeps the setup completely stationary while you pose naturally, giving you a smooth, well-lit image every time.
- Optimizes Indoor Photography: In spaces with limited natural light, a tripod allows you to experiment with different angles, light intensities, and distances to find the perfect setup without constantly readjusting your hands or camera.
- Reduces Post-Editing Work: Consistent and even lighting from the start means less need for brightness, contrast, or shadow corrections later, keeping the photo compliant with passport standards.
DIY Passport Photos Without a Tripod: Is It Possible?
Taking a passport photo at home without a tripod is certainly possible, but it comes with several challenges that can make the process more complicated than it seems. Many people try to improvise by placing their camera or smartphone on a stack of books, a shelf, or another elevated surface. While this method is inexpensive and requires no extra equipment, it can be difficult to get the exact height and angle needed for a compliant passport photo. Any slight misalignment can distort the framing of your face or produce awkward shadows, which increases the chances of having your photo rejected.
Another common alternative is asking a friend or family member to hold the camera for you. This approach allows more flexibility in adjusting angles and distances, but it introduces inconsistencies that can be hard to control. Even if your helper tries their best, handheld shots are prone to slight tilts or movement, which can ruin the precise alignment required for passport photos. Additionally, if your helper isn’t familiar with the technical requirements—like keeping your eyes at the correct level or maintaining proper head size—the resulting photos may fail to meet official standards.
Selfie sticks or wall-mounted setups are also popular DIY solutions, especially for smartphone users. These options provide some stability and allow for better positioning than simply holding the phone by hand. However, they still present limitations. Selfie sticks can be awkward to balance at the correct height, and wall mounts require careful placement to ensure the camera is perfectly level. Both options can lead to subtle shifts in framing or focus, and even minor inconsistencies may result in a photo being rejected.
Ultimately, while these alternatives can work in a pinch, they each come with trade-offs in terms of stability, accuracy, and ease of use. A tripod, on the other hand, eliminates most of these issues by providing a stable, adjustable platform for your camera. With a tripod, you can achieve precise alignment, maintain consistent framing, and avoid blurriness or shadows caused by movement. For anyone serious about producing a compliant, high-quality passport photo at home, investing in a tripod is often the simplest and most reliable solution.
Choosing the Right Tripod for Passport Photos
| Feature | What to Look For | Why It Matters | Practical Tip | Best For |
| Size & Portability | Small tabletop or compact tripod | Easy to set up indoors, doesn’t take up much space | Choose a tripod that can fit on a desk, table, or shelf | Indoor DIY passport photos |
| Adjustable Height | Extendable legs or telescopic center column | Allows you to position the camera at eye level | Make sure the tripod can reach both seated and standing positions | Maintaining correct head and eye placement |
| Stability | Sturdy construction, rubber feet | Prevents wobbling and camera shake | Check weight limits and choose rubber or non-slip feet for smooth surfaces | Sharp, blur-free photos |
| Compatibility | Standard screw mount for DSLR, phone clip for smartphones | Ensures your device fits securely | Verify your camera or phone model before buying | Smartphones, DSLRs, or compact cameras |
| Ease of Use | Lightweight yet durable, simple locking mechanisms | Quick adjustments during photo session | Avoid overly complex designs that are hard to set up | Anyone new to DIY photography |
Step-by-Step Guide to Using a Tripod for Passport Photos
Taking a passport photo at home with a tripod can save time, reduce errors, and ensure your photo meets official guidelines. The following step-by-step list provides a comprehensive approach to setting up your tripod, lighting, background, and camera for the best results.
- Set Up the Tripod Properly: Start by placing your tripod on a flat, stable surface to prevent any wobbling or accidental tilts. Adjust the height so that the camera lens aligns perfectly with your eye level. This ensures proper framing and prevents distortions. Double-check that all legs are locked securely and that the tripod isn’t prone to tipping over. A stable base is essential for capturing sharp, compliant passport photos.
- Position Your Background: Choose a plain, light-colored wall or backdrop as your photo background, ideally white or off-white. Remove any objects, shadows, or distracting elements that could interfere with the official requirements. A smooth, even background ensures that your face is the primary focus and prevents issues during automatic cropping or verification processes.
- Check Your Lighting: Proper lighting is critical to avoid shadows, uneven skin tones, and glare. Natural daylight is ideal, so position yourself near a window if possible. If using artificial lights, make sure they are evenly distributed around your face to eliminate harsh shadows. Keeping the camera on a tripod ensures the angle remains consistent with your lighting setup, preventing unintentional changes that could ruin the shot.
- Frame Your Shot Correctly: Ensure your head, neck, and shoulders are fully visible and occupy the correct proportion of the frame, typically 70–80% of the photo. Your eyes should be centered and looking straight at the camera. Using a timer or remote shutter is recommended so that you don’t touch the camera while taking the photo, which can cause blurriness or misalignment.
- Take Multiple Shots: Even with a tripod, small movements or expressions can affect compliance. Take at least 3–5 shots to have options for selecting the best one. Review each photo for proper head size, eye alignment, and lighting before finalizing. Multiple shots increase the chances of capturing a fully compliant, professional-looking passport photo without the need for repeated sessions.
- Double-Check Camera Settings: Ensure your camera is set to the highest resolution available and that focus is locked on your face. Avoid filters, automatic enhancements, or other camera settings that might alter your natural appearance, as passport photos require an accurate representation.
- Maintain Neutral Expression: Keep your face relaxed, with a neutral expression and mouth closed. Tripods allow you to focus solely on posing correctly without worrying about holding the camera steady, making it easier to maintain a consistent, neutral look across multiple shots.
- Review and Adjust: After taking your first batch of photos, check for shadows, uneven lighting, or any misalignment. Adjust the tripod, lighting, or background as necessary before taking additional shots. This iterative approach ensures your final photo is compliant and professional.
- Ensure Distance and Framing Consistency: The camera should be positioned about 4–6 feet away from you to ensure proper head-to-frame ratio. Tripods allow you to maintain this distance consistently across all shots, preventing cropping issues and ensuring the photo meets official specifications.