
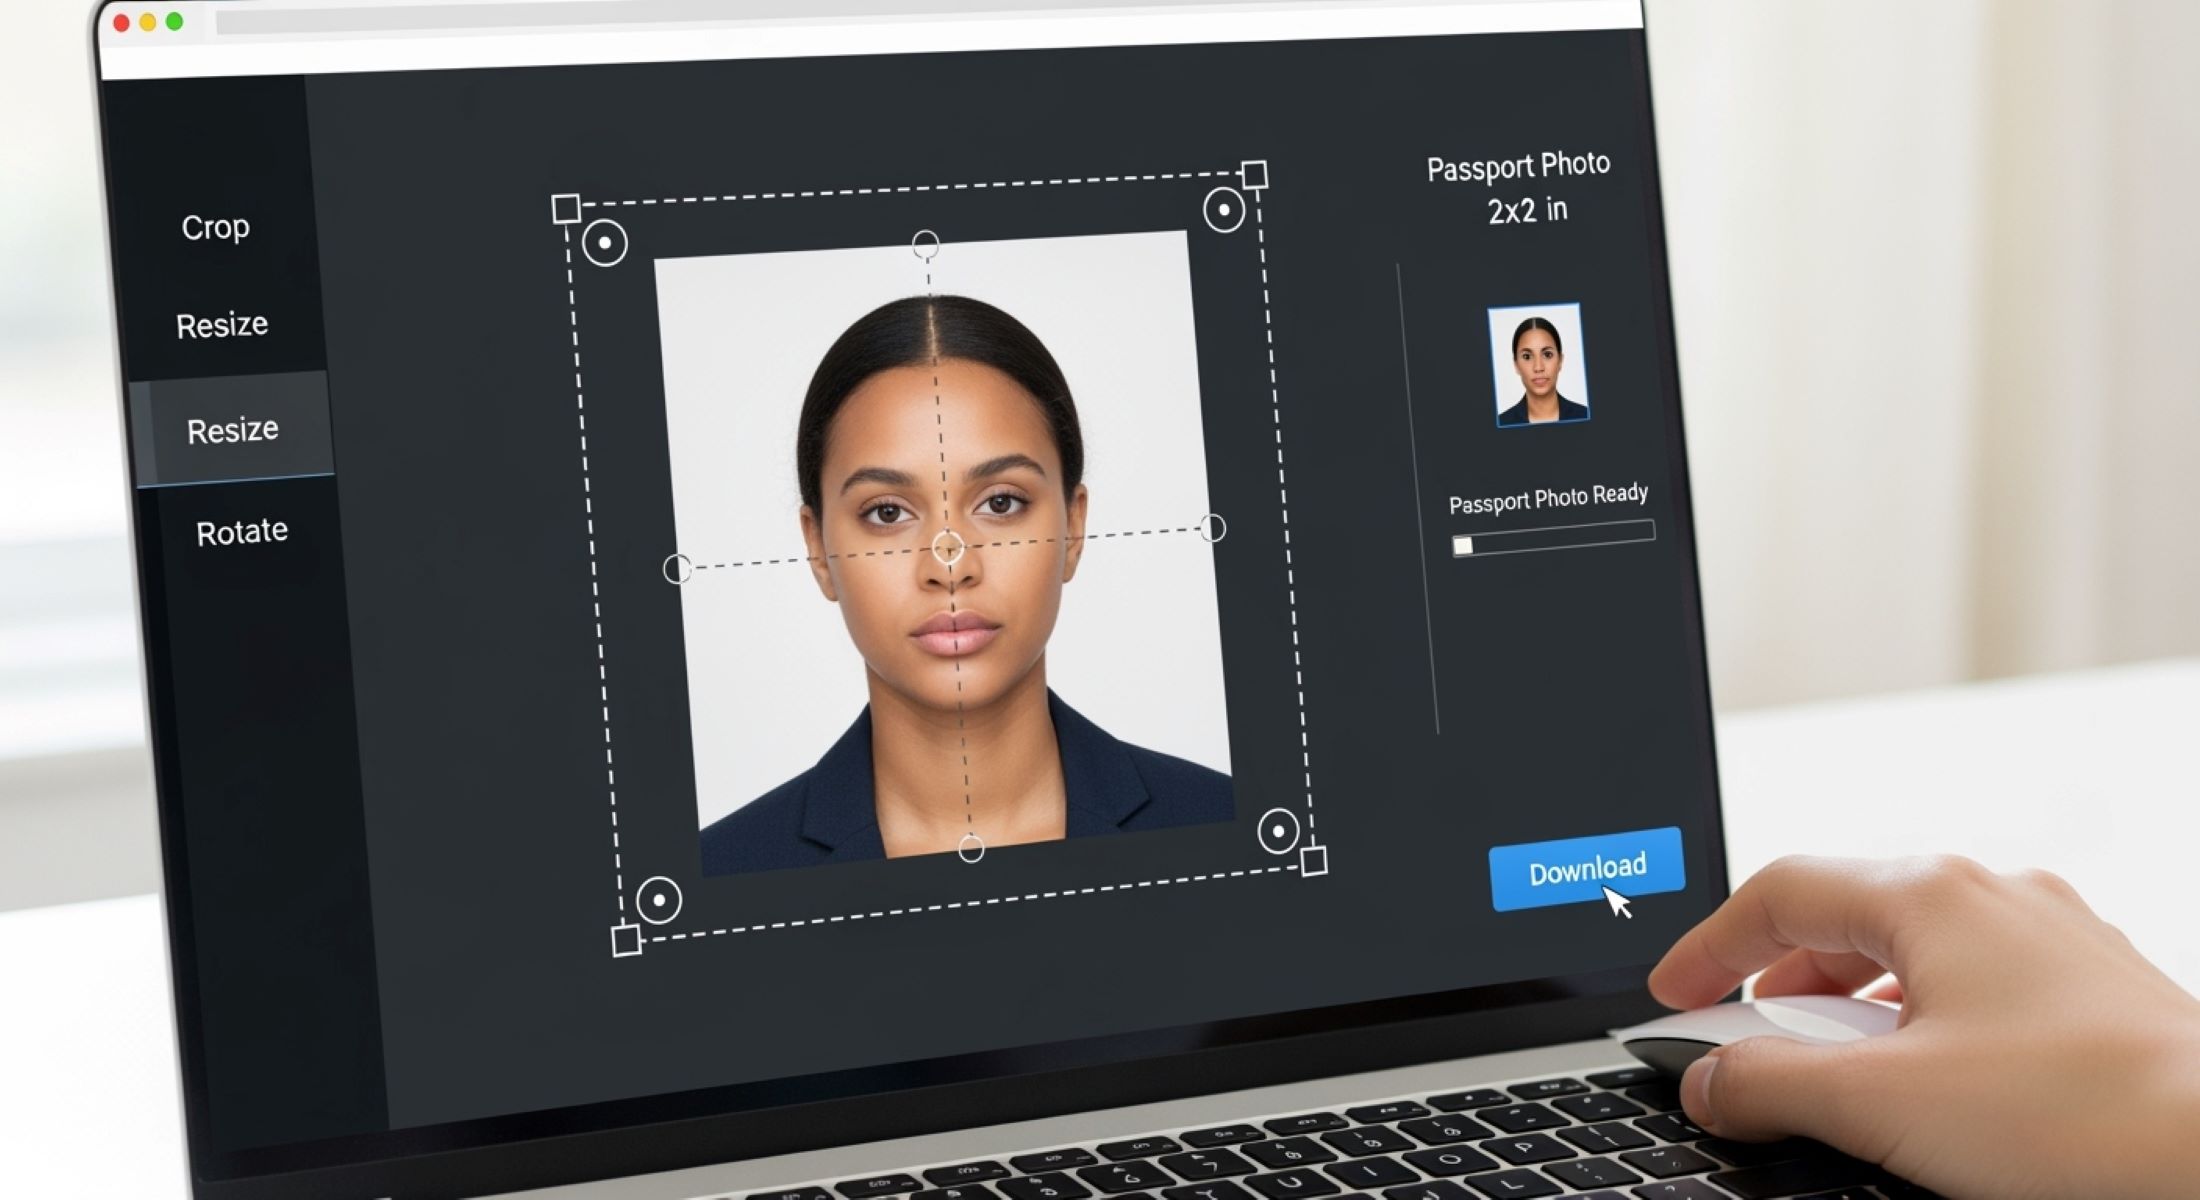
Getting a U.S. passport can be an exciting milestone, but let’s be honest—figuring out the photo requirements can be a total headache. If your photo isn’t just right, your application might get rejected, which can throw off your travel plans. The good news? You can easily crop and resize a photo for a U.S. passport online without paying for a professional photographer. In this article, I’ll guide you through everything you need to know—from rules to tools and step-by-step instructions.
Understanding U.S. Passport Photo Requirements
Before you even start thinking about cropping or resizing your photo, it’s crucial to understand the strict guidelines set by the U.S. Department of State. Passport photos are not just a formality—they are a security measure, which means every detail matters. Even small mistakes, like a shadow on your face or the wrong head size, can lead to your application being rejected. That’s why taking a moment to familiarize yourself with the official rules will save you time, money, and a lot of frustration. Knowing exactly what’s required ensures your photo will be accepted on the first try.
One of the most important aspects is the photo dimensions and head size. Your passport photo must be exactly 2 x 2 inches (51 x 51 mm), and the head—from the bottom of the chin to the top of the head—should measure between 1 and 1 3/8 inches (25–35 mm). Additionally, the photo must have a high enough resolution, at least 300 dpi, to ensure it’s sharp and clear. These measurements might sound precise, but online cropping tools and photo templates make it much easier to meet these standards without guesswork.
Background and lighting are just as critical as size. The background must be plain white or off-white with no patterns, textures, or objects. Uneven lighting or shadows can obscure facial features and lead to rejection. To get it right, make sure the light is evenly distributed across your face, ideally using natural daylight or well-placed indoor lighting. Avoid harsh shadows from overhead lights or uneven lighting from a window. A smooth, uniform background ensures that your facial features are clearly visible and your photo meets official standards.
Finally, attention to expression, appearance, and color is essential. You must maintain a neutral expression with your eyes open and mouth closed, and avoid any head coverings, glasses, or hats unless they’re for religious reasons. The photo should be in full color, reflecting your natural skin tone and features without filters, heavy makeup, or digital edits that alter your appearance. Think of it like a school ID photo—your face should be immediately recognizable, with no distractions or alterations. Following these rules ensures your photo will pass inspection and avoids delays in processing your passport.
Why Online Tools Are Convenient for Passport Photos
- Save Time and Avoid Long Lines: Online passport photo tools eliminate the need to visit a photo studio or wait in long lines. You can take a photo at home, upload it instantly, and get a properly formatted image in minutes. This convenience is especially helpful for busy schedules or last-minute passport applications.
- Automatic Cropping and Resizing: These tools automatically crop and resize your photo to meet exact U.S. passport specifications. You don’t have to measure your head or fiddle with image dimensions manually. The software ensures your head size, photo size, and proportions comply with official requirements.
- Background Removal Made Easy: Achieving a plain white or off-white background can be tricky at home, but online tools often come with background removal features. This means even if your photo was taken in a slightly messy room, the software can replace the background with the proper color, saving you from reshoots.
- Multiple Format Options: Whether you need a digital JPEG for online submission or a high-quality image for printing, online tools offer various formats. Some even provide ready-to-print passport photo sheets, so you can print multiple copies at home without worrying about resizing errors.
- High-Resolution Output: Most online tools ensure your passport photo is high resolution, usually at least 300 dpi, which is required for acceptance. This prevents blurry or pixelated photos that could otherwise delay your application.
- Step-by-Step Guidance: Many platforms offer on-screen instructions and visual guidelines. They show exactly where your eyes, chin, and head should be positioned, reducing guesswork and increasing the chances of approval on the first try.
- Affordable or Free Options: Professional passport photos can cost money, but many online tools are free or very inexpensive. You get the same quality without paying extra fees for studio services, making it cost-effective.
- User-Friendly and Accessible: Online tools are designed for anyone to use, even if you aren’t tech-savvy. You don’t need advanced photo editing skills; the software guides you through the process intuitively.
Top Online Tools to Crop and Resize Passport Photos
| Tool | Key Features | Cost | Best For | Extra Notes |
| Passport Photo Online | Automatic cropping and resizing, background removal, multiple output formats, step-by-step guidelines | Free + Paid options | U.S. passport photos, visa photos | Paid version offers high-resolution downloads and print-ready sheets |
| IDPhoto4You | Simple interface, ready-made templates for U.S. passport and other international IDs, easy upload | Free | Beginners, quick processing | Limited editing features but very straightforward and fast |
| ePassportPhoto | Automatic resizing, adjustable guidelines overlay, instant cropping | Free | Online submissions and print-ready copies | Supports multiple ID types, ensures correct dimensions for official documents |
| Remove.bg + Photoshop | Precise background removal, customizable cropping, high-resolution output | Free (basic) / Paid (advanced) | Professional users, custom editing | Combine Remove.bg for background removal and Photoshop for exact resizing and quality enhancement |
| Online Passport Photo Maker | Auto-detects face, sets proper head size, adjusts lighting, prints multiple copies | Free / Paid | Families, children, or multiple copies | Offers batch processing for printing several photos at once |
Step-by-Step Guide to Cropping a Passport Photo Online
The first step in creating a perfect U.S. passport photo online is choosing the right photo. This might seem simple, but selecting a clear, well-lit image is critical. Avoid selfies or pictures with uneven lighting, shadows, or cluttered backgrounds. Ideally, use a photo taken in natural light or with balanced indoor lighting. Make sure your face is fully visible, looking straight at the camera, with a neutral expression and both eyes open. Picking the right photo at the start sets the foundation for a smooth cropping and resizing process, reducing the chance of mistakes later.
Once you have the photo, the next step is uploading it to your chosen online tool. Most platforms accept JPEG or PNG files, which are standard formats for high-quality images. After uploading, the software will often guide you through selecting a template. Make sure to choose the U.S. passport option if it’s available, as this ensures the tool automatically applies the correct size and proportions for the head and photo. This step removes any guesswork, so you don’t have to manually measure your head or worry about exact dimensions.
After selecting the template, the next critical step is adjusting the crop. Proper alignment is essential—your eyes should match the on-screen guidelines, and your head should occupy the required space, typically between 1 and 1 3/8 inches from chin to the top of the head. Keep shoulders and the upper part of your body visible but minimal, as the focus should be on your face. Many tools also allow slight adjustments to ensure your head is centered and correctly positioned. Taking your time here ensures the photo will meet official U.S. passport standards and avoids the need for resubmissions.
Finally, it’s time to check the background and download your photo. Make sure the background is plain white or off-white, using the tool’s background remover if necessary. Once everything looks perfect, download the image in the proper format—usually JPEG for online submission or a high-resolution print-ready file for physical copies. Double-check that the resolution is at least 300 dpi to avoid blurry or pixelated results. Following these steps carefully guarantees that your passport photo is ready for submission and complies fully with official guidelines.
Tips for Perfect U.S. Passport Photos
- Use Proper Lighting: Natural light works best for passport photos because it produces even, flattering illumination without harsh shadows. Avoid direct sunlight, which can create glare, and steer clear of overhead fluorescent lights that may cast unflattering shadows on your face or background. The goal is to have a clear, evenly lit photo where all facial features are visible.
- Maintain Correct Camera Position: Position the camera at eye level to capture a straight-on view of your face. Avoid tilting your head or leaning in any direction, as this can make the photo non-compliant. Keep a neutral expression with your mouth closed and eyes fully open. A straight and centered face ensures your photo matches official U.S. passport requirements.
- Choose Appropriate Clothing: Opt for solid-colored tops that contrast with a white or off-white background. Avoid wearing white tops because they can blend into the background, making it difficult to distinguish your outline. Simple, non-distracting clothing ensures your face remains the focal point of the photo.
- Be Cautious with Digital Editing: Minimal adjustments are allowed, such as brightness and cropping, but never alter your facial features. Do not use filters, heavy makeup edits, or retouching that changes your appearance. Any form of manipulation beyond basic adjustments can lead to photo rejection.
- Check Your Background: Ensure the background is completely plain, without patterns, objects, or shadows. If needed, use an online tool or software to remove or replace the background with the proper white or off-white color.
- Avoid Accessories That Obstruct Your Face: Remove glasses, hats, or any other head coverings unless required for religious reasons. These items can obscure your facial features and result in non-compliance.
- Take Multiple Shots: Even if you think the first photo is perfect, take several images to increase your chances of getting one that meets all guidelines. Slight differences in angle, lighting, and expression can make a big difference in final quality.
- Keep a Neutral Facial Expression: Smiling or frowning is not allowed. A neutral, relaxed expression with eyes fully visible is mandatory for passport compliance.
- Ensure Proper Framing: Your head should occupy the correct portion of the photo, generally 1 to 1 3/8 inches from chin to the top of the head. Shoulders should be visible but minimal, keeping the focus on your face.
- Review Before Submission: Before finalizing your photo, double-check lighting, background, head position, expression, and resolution. This step can prevent costly resubmissions and delays in passport processing.
How to Print Your Passport Photo at Home
| Step | Description | Materials Needed | Tips | Common Mistakes to Avoid |
| Prepare Your Photo | Ensure your passport photo is cropped, resized, and meets all U.S. passport requirements before printing. | Digital photo file (JPEG/PNG), computer | Check resolution (300 dpi minimum) and dimensions (2 x 2 inches) | Printing an unverified photo can lead to rejection |
| Choose Photo-Quality Paper | Use glossy or matte photo paper for best results. Avoid regular printer paper. | Photo paper, printer | Glossy paper often gives sharper details; matte paper reduces glare | Using standard paper may result in blurry or low-quality images |
| Set Up Your Printer | Open your photo in a photo editor and select 2 x 2 inch crop. Adjust print settings to high quality. | Computer, printer, photo editing software | Set printer to highest resolution; ensure scaling is correct | Printing at low quality or wrong scaling can distort the image |
| Print and Cut | Print the photo and cut it precisely to 2 x 2 inches using scissors or a photo cutter. | Printed photo, scissors or photo cutter | Print multiple copies on one sheet to save time and avoid mistakes | Cutting incorrectly or leaving uneven borders can make photo non-compliant |
| Final Quality Check | Review printed photo for color, clarity, background, and head size. Make sure it meets passport guidelines. | Printed photo | Compare with digital guidelines for verification | Ignoring this step can result in resubmission and delays |
Common Mistakes to Avoid
One of the most frequent reasons passport photos get rejected is the background color. Many people think any light-colored wall will work, but the U.S. Department of State requires a plain white or off-white background. Even slight variations in color, patterns, or textures can cause a photo to fail the submission process. Using online tools or a background remover can help ensure your background is completely uniform, avoiding unnecessary delays in your application.
Another common error involves glasses. While glasses are generally not allowed, some people attempt to include them, resulting in reflections or tinted lenses obscuring the eyes. This makes it difficult for passport authorities to clearly identify facial features. To prevent this, remove glasses entirely before taking the photo. If you cannot remove glasses for medical reasons, make sure there is no glare, and the eyes are fully visible without shadows.
Incorrect head size or positioning is another frequent mistake. The head must measure between 1 and 1 3/8 inches from the bottom of the chin to the top of the head. If the head is too small or too large, it can make the photo non-compliant. Many online tools provide cropping guides to help you align your face correctly and ensure proper proportions. Taking time to measure and adjust your photo carefully can prevent this issue and increase the chances of first-time acceptance.
Finally, shadows and uneven lighting can ruin an otherwise perfect photo. Shadows on the face or background may obscure facial features and make the image look unprofessional. Proper lighting—preferably natural daylight or evenly balanced indoor light—is essential. Avoid overhead lights, harsh sunlight, or multiple light sources that create conflicting shadows. Ensuring even lighting guarantees that your photo will be clear, compliant, and accepted without delays.