
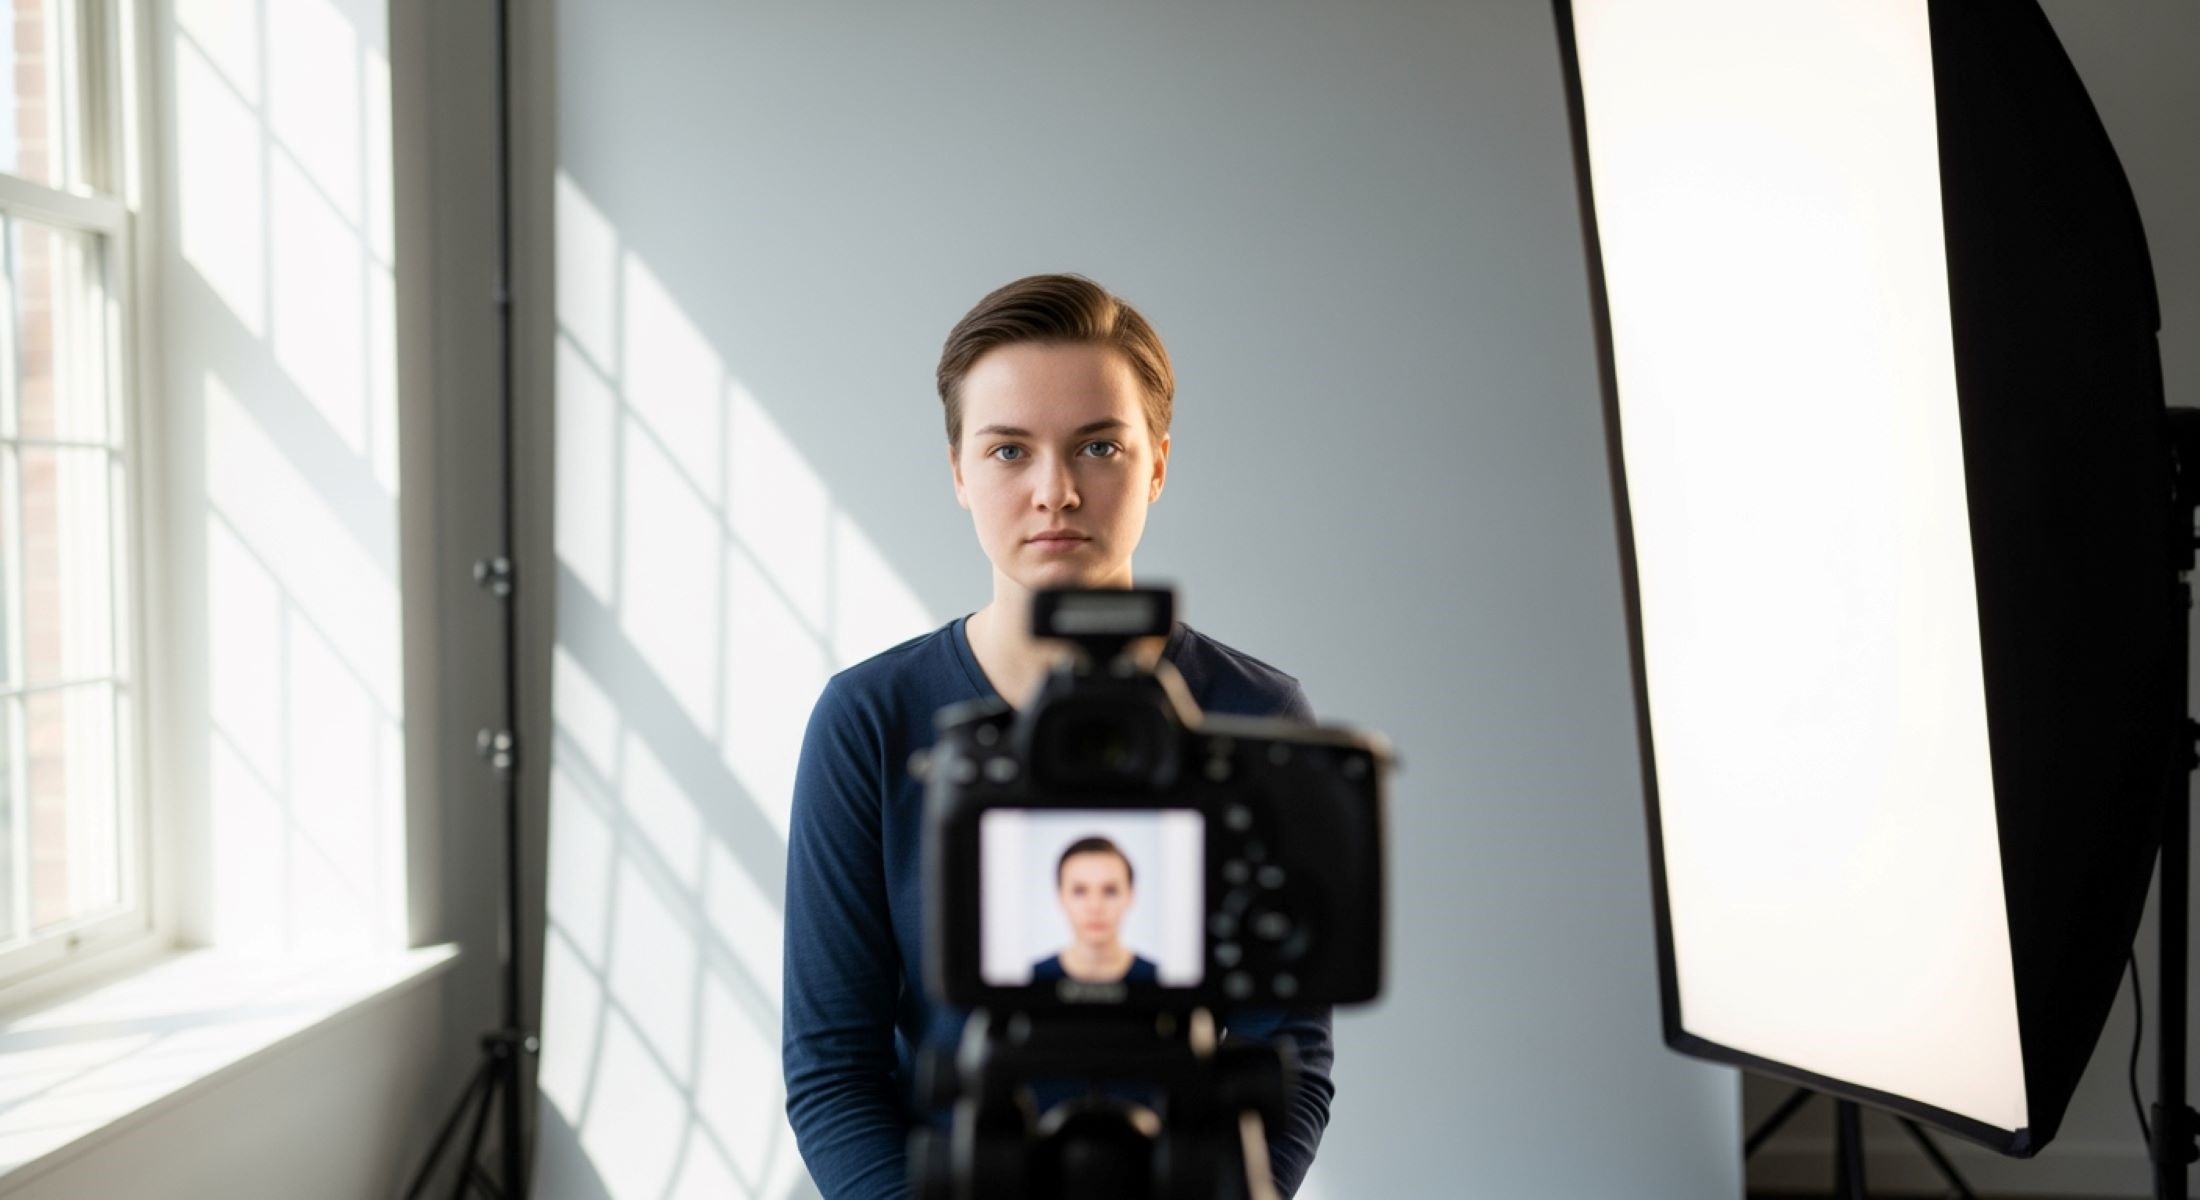
Passport photos might seem like a small detail, but they’re a big deal when it comes to travel documents. One tiny flaw can mean a rejected application. Among the most common issues? Red-eye. That ghostly crimson stare can ruin an otherwise perfect photo. But don’t worry—red-eye isn’t the end of the world. With a few tips and tricks, you can completely avoid it. In this guide, we’ll break down why red-eye happens, how to prevent it, and practical tips to ensure your digital passport photos look flawless.
What Is Red-Eye in Photos?
Red-eye is one of the most common issues in photography, especially in indoor or low-light settings. It appears as a bright red reflection in the subject’s eyes, often giving an unnatural or startling look to the photo. This happens when the camera flash is positioned close to the lens, causing light to enter the eye and reflect off the retina at the back. The retina is rich in blood vessels, which gives the reflection its distinctive red color. In essence, the camera is capturing the light bouncing straight from the back of the eye, rather than the surface.
The phenomenon is most pronounced in dimly lit environments where pupils are naturally dilated. Larger pupils allow more light to enter, increasing the likelihood that the flash will reflect off the retina. This is why red-eye tends to be much more noticeable at night or in rooms with poor lighting. Conversely, in bright daylight, when pupils contract, the effect is far less likely to occur, which is why outdoor photos rarely suffer from red-eye.
Interestingly, red-eye is not limited to humans. Animals, particularly those with reflective layers behind their retinas, can also exhibit glowing eyes in photographs. However, while animal eye reflections often appear green, yellow, or blue due to different retinal structures, the principle remains the same: light reflecting off the back of the eye. This makes red-eye a universal photographic challenge, although the intensity and color may vary depending on the subject and lighting conditions.
Beyond aesthetics, red-eye can affect the perceived clarity and professionalism of a photograph. In official images like passports or ID cards, even minor red-eye can lead to rejection, as authorities require a clear, natural depiction of the eyes. Understanding the causes and mechanics of red-eye is the first step toward preventing it, ensuring your photos look polished and professional, and keeping that unnatural crimson glare at bay.
Why Red-Eye Is a Problem in Passport Photos
Passport photos are not like casual snapshots. They are official documents used to verify your identity, which means every detail matters—including your eyes. Red-eye can cause a variety of issues that go beyond simple aesthetics. Here’s why it’s such a big problem:
- Non-compliance with official standards: Passport authorities have strict guidelines for how your face and eyes must appear in photos. Red-eye can obscure the natural color and shape of your eyes, making the image non-compliant with these standards. A photo that doesn’t meet the rules can be rejected outright, delaying your application.
- Automatic rejection by digital systems: Many countries now use automated systems to verify passport photos. These systems scan for facial features, eye placement, and clarity. Red-eye can interfere with the software’s ability to accurately detect your eyes, causing your photo to fail automated checks and leading to outright rejection.
- Unprofessional appearance: Even if a photo with red-eye is technically accepted, it looks unpolished and distracting. The bright red glow can draw attention away from your facial features and make you appear unnatural in an official document, which defeats the purpose of a professional ID photo.
- Distorted facial recognition: Red-eye can interfere with facial recognition technologies used at airports, border control, and other security checkpoints. This can cause unnecessary delays or additional verification procedures, as the system may struggle to match your photo with your live appearance.
- Inaccurate depiction of eye health or identity: Passport photos are used to verify your identity and sometimes for security purposes. Red-eye can give a false impression of your eye color or condition, which may be problematic in cases where accurate depiction is necessary for identification.
- Time and cost implications: If a photo is rejected due to red-eye, you’ll have to retake it. This not only wastes time but may also incur additional costs, especially if you are using a professional photography service or applying in a time-sensitive situation.
- Negative first impression: Your passport photo is one of the first official representations of you in international travel. A photo with red-eye can create an unintended negative impression, as it suggests a lack of attention to detail or photo quality.
- Complications with visa applications: Many visa processes require passport photos to be submitted digitally or in print. Red-eye can complicate acceptance for multiple applications, not just your passport, increasing the risk of delays and repeated submissions.
- Reduced photo usability: A photo with red-eye is often unsuitable for other official documents, such as ID cards, driver’s licenses, or immigration forms. You may find yourself needing to take multiple sets of compliant photos if red-eye is not addressed initially.
- Impact on image archives: Passport and ID photos are stored digitally and physically for years. A photo with red-eye can remain a permanent record of poor quality, which may be undesirable for personal or official archival purposes.
Understanding the Causes of Red-Eye
| Cause | Effect on Red-Eye | Why It Matters | How to Reduce the Risk | Example/Scenario |
| Flash Position | Light reflects directly off the retina | Close flash to lens increases reflection, causing bright red pupils | Use red-eye reduction mode or indirect/bounced flash | Using camera flash pointed straight at eyes in a dim room |
| Dim Lighting | Pupils dilate, allowing more light to enter and reflect | Larger pupils make red-eye more pronounced | Brighten the room, use natural or soft lighting | Taking photos in a dark room without additional light |
| Eye Color | Lighter-colored eyes reflect more light | Blue or green eyes often show red-eye more intensely | Extra care with lighting; avoid direct flash | A person with light green eyes photographed indoors |
| Camera Type | Lens and flash design can worsen red-eye | Certain digital cameras produce stronger reflections | Use cameras with red-eye reduction or adjust settings | Smartphone with front-facing flash vs. professional DSLR |
| Proximity to Lens | Closer distance increases chance of reflection | Being too close can exaggerate red-eye effect | Maintain proper distance (1.5–2 meters) | Selfies with flash at arm’s length showing red pupils |
Tips to Avoid Red-Eye Before the Photo Is Taken
Preventing red-eye starts long before the shutter clicks. One of the most effective ways to avoid it is by using proper lighting. Natural light is your best ally, as it illuminates your face evenly without causing harsh reflections. Position yourself near a window or in a brightly lit room with diffused light sources. Avoid overhead lighting that creates shadows or spotlights, as these can exaggerate red-eye. Soft, indirect light allows your eyes to remain clear and reduces pupil dilation, which is a major factor in red-eye formation.
Another simple yet effective strategy is to slightly shift your gaze away from the camera lens. Looking directly at a flash can make light bounce straight back from your retina, producing that dreaded red reflection. Even a minor adjustment in your line of sight can significantly reduce red-eye. This technique works best in combination with bright ambient light, as the combination both constricts your pupils and alters the angle of incoming light.
Controlling pupil size is another key tactic. Bright lighting naturally causes your pupils to constrict, reducing the amount of light that can enter and reflect from the retina. If you’re indoors, adding extra lamps or increasing room brightness can help. Additionally, blinking right before the photo can momentarily reduce pupil size and refresh your eyes, making them less reflective. It’s a subtle trick, but when used consistently, it can make a noticeable difference in the final image.
Finally, consider whether you truly need a flash. Many modern cameras and smartphones perform well in low-light conditions without a flash, using higher ISO settings or image stabilization instead. Avoiding direct flash entirely eliminates one of the primary causes of red-eye. If you must use a flash, look for options like red-eye reduction modes or indirect flash, which bounce light off walls or ceilings rather than pointing it straight at your face. Combining these precautions—lighting, gaze direction, pupil control, and careful flash use—creates the best conditions for a flawless, red-eye-free passport photo.
Camera Settings That Help Prevent Red-Eye
When taking your own passport photo digitally, adjusting your camera settings can make a huge difference in avoiding red-eye. Here’s a comprehensive list of strategies to optimize your camera and minimize unwanted eye reflections:
- Enable Red-Eye Reduction Mode: Most modern digital cameras and smartphones include a red-eye reduction feature. This mode usually fires a small pre-flash before the main photo, which causes your pupils to constrict. Smaller pupils reflect less light, significantly reducing the risk of red-eye appearing in your photo.
- Increase ISO Sensitivity: By raising your camera’s ISO, you can capture brighter images without relying on a direct flash. Higher ISO settings make your sensor more sensitive to available light, which allows you to avoid flash entirely in many indoor situations. Less flash exposure means a lower chance of light bouncing directly off your retina.
- Adjust Exposure Settings: Fine-tuning your exposure can help create a well-lit image without overusing flash. Slightly increasing exposure or using longer shutter times in bright environments allows your eyes to remain visible and natural, reducing reflections that cause red-eye.
- Use Indirect Flash: If flash is unavoidable, bouncing it off a nearby wall, ceiling, or diffuser softens the light and changes the angle at which it reaches your eyes. Indirect flash spreads illumination evenly and prevents the harsh reflection that produces red-eye.
- Select Proper White Balance: Ensuring your camera’s white balance is correctly set for the lighting conditions helps maintain accurate skin tones and reduces unnatural highlights in the eyes. This can indirectly reduce the visibility of red-eye by keeping eye reflections subtle.
- Avoid Front-Facing Flash on Smartphones: Many front-facing phone flashes are too close to the lens, increasing red-eye likelihood. Use ambient lighting or a diffused light source instead to capture a more natural image without reflections.
- Maintain Adequate Distance from the Camera: Being too close to the lens can increase red-eye risk because the flash is more likely to bounce directly back. Keep a distance of at least 1.5 to 2 meters when taking a passport photo to reduce reflections.
- Use High-Quality Lenses and Sensors: Cameras with larger, higher-quality sensors and lenses capture light more efficiently, reducing the need for strong flash. Investing in better equipment can indirectly prevent red-eye while producing sharper, professional-looking photos.
- Test and Review Photos Before Finalizing: Take a few test shots under the intended lighting and camera settings. Reviewing your images beforehand helps you identify any potential red-eye issues and adjust your settings before capturing the final passport photo.
- Combine Settings for Best Results: Using multiple techniques together—such as red-eye reduction mode, indirect flash, proper ISO, and ambient lighting—creates the ideal conditions for a red-eye-free, compliant passport photo.
Practical Setup for a Red-Eye-Free Passport Photo
| Element | Recommendation | Reason/Benefit | Tips for Best Results | Common Mistakes to Avoid |
| Background | Plain, light-colored, no shadows | Provides a clean, neutral backdrop for facial features | Use a white, off-white, or light-colored wall or screen | Using patterned, dark, or reflective backgrounds |
| Lighting | Soft, even, natural light if possible | Reduces harsh reflections and shadows | Position near a window or use diffused lamps | Overhead or spotlight lighting causing glare or shadows |
| Camera Angle | Eye-level, slightly away from direct flash | Prevents light from bouncing straight off the retina | Keep camera parallel to eyes, tilt slightly if needed | Shooting from too high or low angles, causing distortion |
| Flash | Avoid or use red-eye reduction / indirect flash | Minimizes direct reflection from pupils | Bounce flash off walls or ceilings, use pre-flash mode | Direct flash aimed at eyes, causing red-eye |
| Pupil Control | Bright room, blink before photo | Constricted pupils reflect less light | Ensure ample ambient light and have subject blink before shooting | Dark rooms with dilated pupils increasing red-eye risk |
| Distance | 1.5–2 meters from camera | Proper distance reduces intensity of reflections | Use a tripod or stable surface to maintain distance | Standing too close to the camera, exaggerating red-eye |
| Pose & Expression | Neutral expression, eyes open fully | Helps meet official passport photo requirements | Relax face, keep head straight, avoid squinting | Tilting head excessively or closing eyes slightly |
| Camera Settings | ISO and exposure adjusted for brightness | Reduces need for strong flash | Test shots first to check lighting and clarity | Using default settings in low light causing flash use |
| Review & Adjust | Take test shots and evaluate | Ensures final image meets requirements | Check for shadows, red-eye, and proper framing | Submitting first shot without verification |
How to Correct Red-Eye After the Photo Is Taken
Even with careful planning and proper lighting, red-eye can sometimes appear in your photos. When it does, digital correction is often the easiest and most effective solution. Modern photo editing software provides tools specifically designed to remove red-eye quickly and efficiently. Programs like Adobe Photoshop, GIMP, and mobile apps such as Snapseed allow you to select the affected area and automatically adjust the color and brightness of the iris. These tools can restore a natural look without making your eyes appear unnatural or overly edited.
For those who prefer online solutions, several free websites offer automatic red-eye removal. Platforms like Fotor, PicWish, and iPiccy allow you to upload your image, detect red-eye, and correct it with just a few clicks. These online tools are convenient for users who don’t have access to professional software or want a quick fix without learning complex editing techniques. The results are usually impressive, making these platforms an excellent option for casual or urgent corrections.
Manual editing is another effective method, particularly for those who want precise control over the final image. By carefully adjusting the hue, saturation, and brightness of the iris, you can remove the red tint while maintaining the natural eye color. This approach is slightly more advanced but produces highly accurate results, ensuring that the corrected photo looks realistic. Manual editing is particularly useful for passport or ID photos, where maintaining an authentic appearance is critical.
It’s important to review the corrected photo carefully before submitting it for official purposes. Even minor mistakes in red-eye correction, such as over-darkening the eyes or leaving subtle red traces, can make a photo look unnatural or be rejected by authorities. Taking the time to carefully edit and review your photo ensures that it meets official standards and maintains a polished, professional appearance. By combining software tools, online platforms, and manual adjustments, you can effectively eliminate red-eye and produce a clear, compliant passport photo every time.