
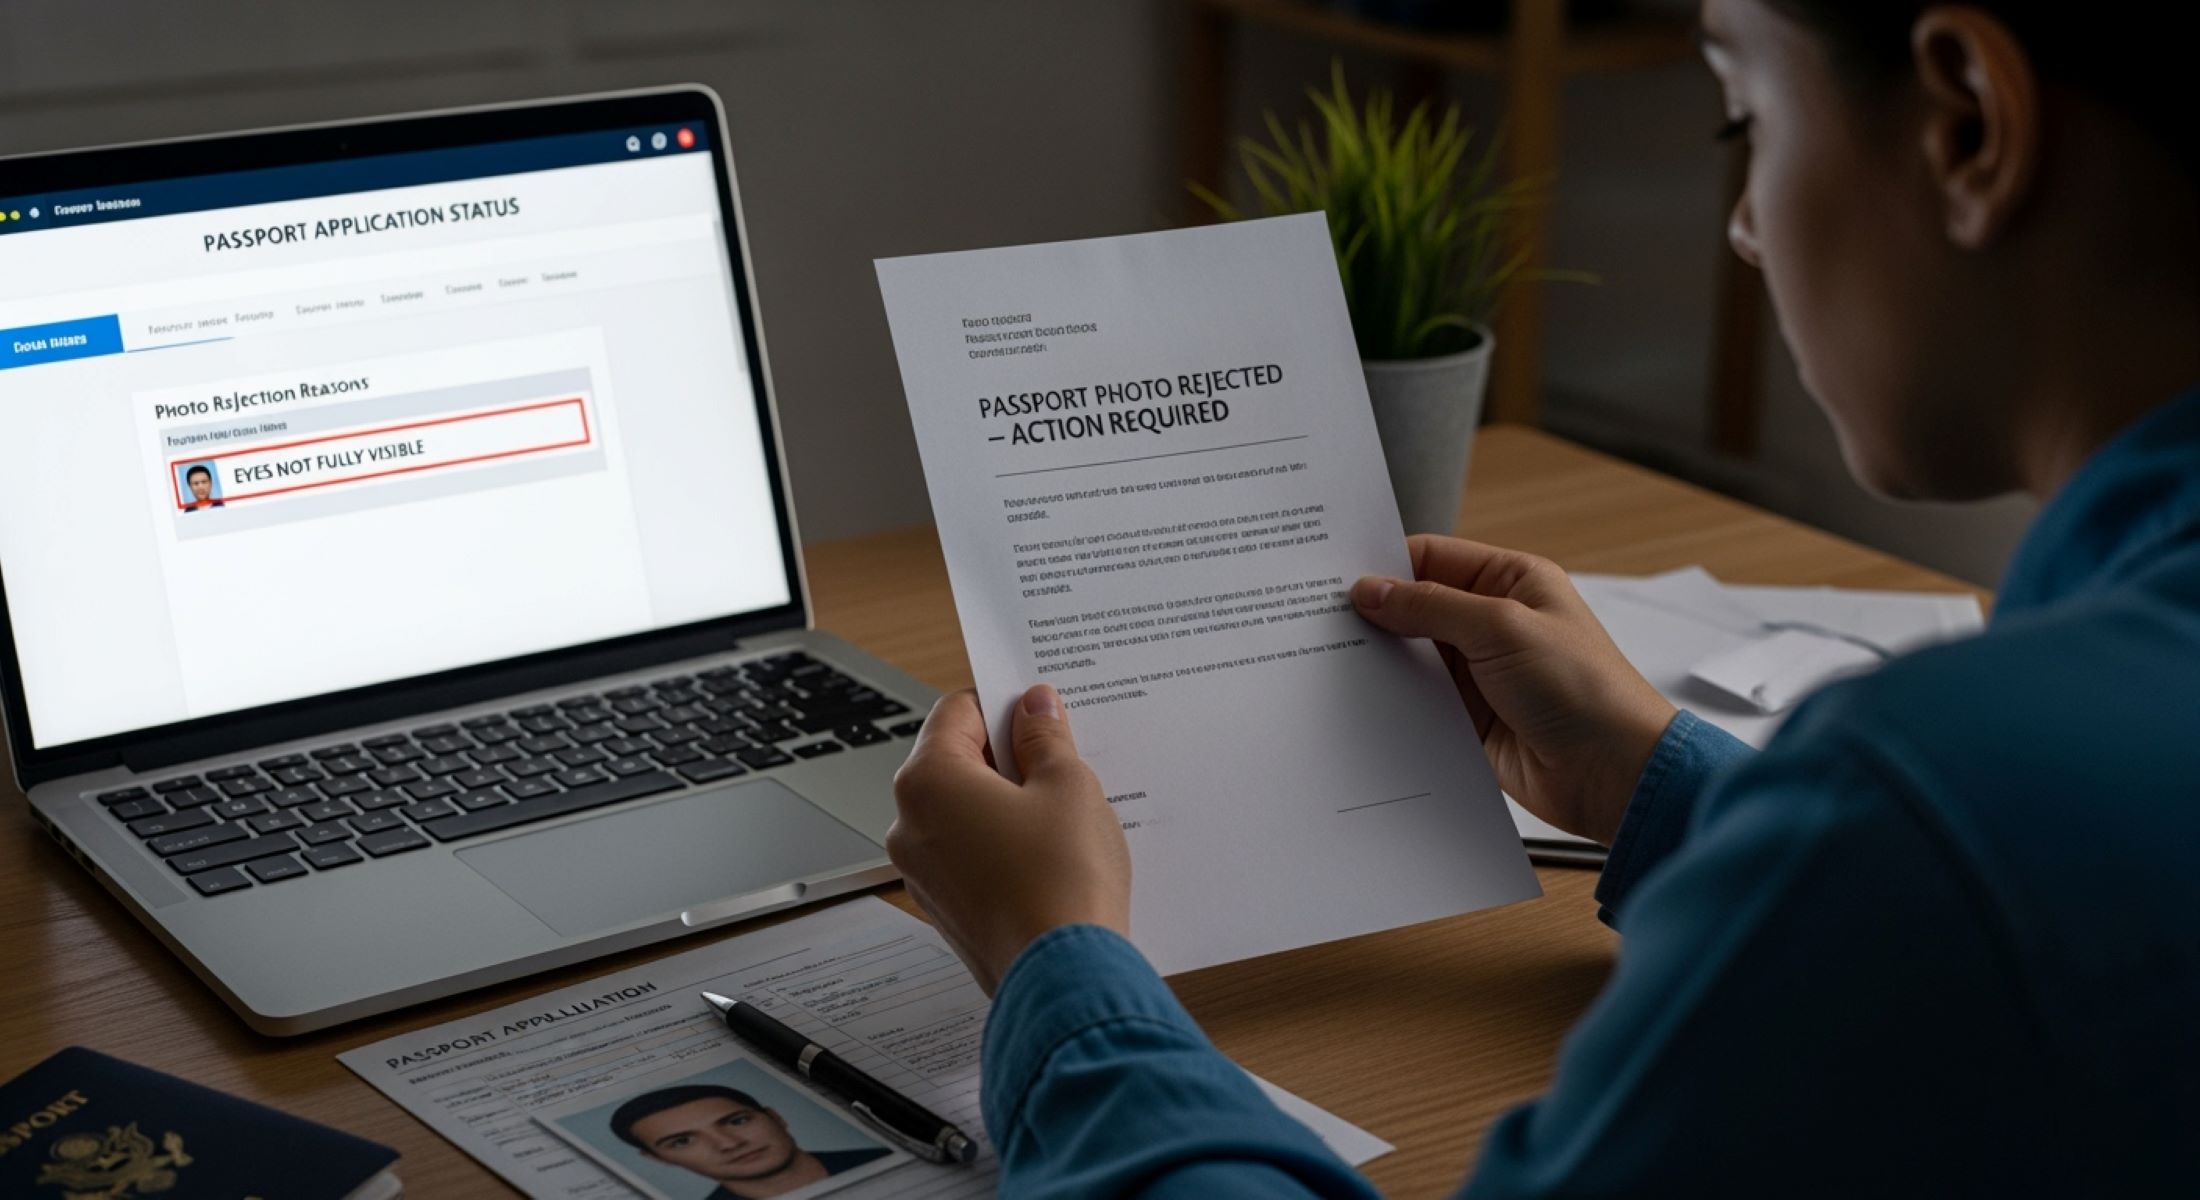
Getting a passport can feel like a tedious process, right? From filling out forms to scheduling appointments, it’s a lot. And then there’s the dreaded passport photo — that tiny square image that has to meet a dozen rules. But what happens if you realize your photo is a disaster after submitting your application? Can you retake it? Let’s dive deep.
Understanding Passport Photo Requirements
Before we even dive into the process of retaking a passport photo, it’s crucial to understand why the rules around these photos are so strict. Passport photos are not just about aesthetics—they are an essential tool for identity verification. Every detail, from your facial expression to the background color, plays a role in ensuring that the photo accurately represents you. Authorities use these images to compare against other identification records, making even minor inconsistencies a potential issue. Understanding this framework helps applicants appreciate why following the rules precisely is so important and why a “good enough” photo often isn’t sufficient.
One of the first things to keep in mind is the size requirement. Most countries, including the United States and India, mandate a strict 2 x 2-inch (51 x 51 mm) dimension. This uniformity ensures that all photos fit standardized templates used in passport production and security databases. A photo that is too large or too small can result in the application being flagged for rejection. Alongside size, the background must be plain white or off-white, free of shadows, patterns, or textures. A busy or colored background can obscure facial features and create problems during automated facial recognition checks.
Equally important is your facial expression and positioning. Passport rules universally require a neutral expression with your mouth closed and eyes fully open. Smiling, frowning, or tilting your head can interfere with facial recognition technology and make it harder for officials to verify your identity. Additionally, your head should be centered and directly facing the camera, with no angles or partial views. The goal is to capture a clear, accurate representation of your face that will remain consistent even as you age or your appearance changes slightly over time.
Finally, attire and accessories play a significant role in compliance. Most passport authorities prohibit hats, uniforms, or any head coverings unless worn for religious purposes. Glasses are generally discouraged due to glare or reflections that can obscure your eyes, which are critical for identification. Even small issues like shadows across your face, poor lighting, or an outdated appearance can trigger rejection. It’s surprising how often photos are rejected for seemingly minor infractions, which underscores the need to be meticulous when taking your passport photo. By understanding and following these rules carefully, applicants can prevent delays and ensure a smoother passport application process.
Passport Photo After Application Submission
So, you’ve submitted your passport application and suddenly realize that your photo is far from perfect. Maybe your hair was messy, the lighting was terrible, or your expression was off. The good news is that in some cases, you can retake and replace your passport photo, but it heavily depends on the stage of your application processing. Here’s a detailed breakdown of the possibilities in a comprehensive list format:
- Before Processing Starts
- If the passport office has not yet begun reviewing your application, you often have the opportunity to replace the photo.
- You can contact the passport office directly via phone, email, or their online portal to inform them of the issue.
- Most offices will allow you to submit a new photo either by mailing it or delivering it in person.
- Submitting a corrected photo at this stage can prevent delays and avoid potential rejection of your application.
- It’s crucial to clearly mention your application number and provide all necessary identification details when submitting the replacement photo.
- During Processing
- Once the passport application is actively being processed, the situation becomes more complex.
- Some passport offices may still accept a new photo, but it often requires extra verification steps.
- Replacing the photo at this stage may delay the overall issuance of your passport, sometimes by several weeks.
- Offices might ask you to visit in person or submit an official written request to change the photo.
- The key here is prompt action: the sooner you alert the authorities, the higher the chance of successful replacement without major delays.
- After Processing
- If the passport is already printed, finalized, or about to be issued, replacing the photo is generally not possible.
- At this point, the only solution is to submit a completely new application, including a new form, photo, and fee payment.
- This scenario is the most inconvenient, as it can significantly delay your travel plans.
- It emphasizes the importance of double-checking your passport photo before submission to avoid last-minute headaches.
- Some expedited services may help, but they still require a new application and additional processing time.
Steps to Retake Your Passport Photo
| Step | Action | How to Do It | Tips for Success | Potential Issues to Avoid |
| Contact the Passport Office | Notify the authorities about your unsuitable photo | Reach out via phone, email, or online portal. Provide your application number and details | Be polite and clear. Mention that you want to replace the photo before processing | Delaying contact can reduce your chances of replacement before processing begins |
| Prepare a Correct Photo | Take a compliant passport photo | Stand in front of a plain white or off-white wall, ensure proper lighting, maintain a neutral expression, and ensure the photo is recent (within 6 months) | Take multiple shots to select the best one. Consider professional photography for accuracy | Shadows, glare, head tilt, or wearing glasses can lead to rejection |
| Choose Submission Method | Determine how to send the new photo | Options may include digital upload (if online), mailing with a cover letter including your application number, or visiting the office in person | Follow the office’s instructions precisely. Confirm receipt if submitting digitally or by mail | Incorrect submission method or missing information can cause delays or rejection |
| Confirm Replacement | Ensure your new photo is accepted | Follow up with the passport office to verify the replacement photo has been attached to your application | Keep a copy of the confirmation for your records | Failure to confirm may result in the original photo being used, causing further delays |
| Track Application | Monitor progress after submitting new photo | Check the status online, call the office, or track via official app | Set reminders to follow up regularly | Ignoring updates may mean missing additional instructions from the passport office |
How a Bad Photo Impacts Passport Processing
A passport photo that fails to meet official requirements can create a cascade of problems for your application. One of the most immediate consequences is delays. When the passport office identifies a photo issue, they often contact the applicant to submit a replacement. This extra step can add days or even weeks to the standard processing time, depending on how quickly you respond and how long it takes for the new photo to be received and verified. Even minor issues, like poor lighting or a slight shadow, can trigger these delays, making it crucial to ensure your photo is perfect before submission.
In some cases, a bad photo can lead to rejection of your entire application. This is more than just an inconvenience; it means your application is essentially nullified, and you must start the process over from scratch. This includes completing a new application form, taking a new compliant photo, and resubmitting all required documentation. For applicants with tight travel schedules, this can create major problems, including missed flights or delayed visas. A single mistake in the photo can therefore have outsized consequences.
Extra costs are another impact of submitting an unsuitable passport photo. If your application is rejected or delayed and you need to reapply, you may have to pay fees again, including those for expedited processing if you’re trying to make up lost time. Even professional photo retakes or shipping costs for sending a replacement photo can add to the total expense. What seems like a small oversight can quickly become a costly mistake, emphasizing the importance of careful preparation.
Real-world examples highlight how small errors can escalate. For instance, glare from glasses can cause automatic rejection and delay processing by two to three weeks. A slightly tilted head often results in a request for resubmission, while shadows on the background may be tolerated in some cases but still pose a risk. Even something as simple as wrong photo size can trigger outright rejection, forcing applicants to start over entirely. These examples illustrate that the passport office applies strict standards, and any deviation—even minor—can have tangible impacts on timing, cost, and overall application success.
Tips to Avoid Retaking Passport Photos
Nobody wants the headache of resubmitting a passport application due to a bad photo. Following these tips can save you time, money, and stress:
- Use a Professional Photographer
- Professional studios are familiar with passport photo requirements and can ensure your photo meets all official standards.
- They can adjust lighting, background, and head positioning to eliminate shadows, glare, and other common issues.
- Photographers often provide multiple versions so you can choose the best one.
- This option reduces the risk of rejection and ensures a smoother application process.
- Double-Check Requirements
- Review government guidelines thoroughly before taking your photo, as each country has specific rules regarding size, background, expression, and attire.
- Confirm acceptable formats, such as digital or printed photos, to avoid technical issues.
- Make a checklist of all requirements and use it while taking the photo.
- Understanding the rules upfront prevents unnecessary resubmissions.
- Take Multiple Shots
- Even if taking the photo at home, capture several images to select the best one.
- Small changes in lighting, head position, or facial expression can make a significant difference.
- Use a plain background and consistent lighting for all shots to ensure comparability.
- Taking multiple shots gives you the flexibility to choose a photo that complies fully with official standards.
- Avoid Common Mistakes
- Avoid wearing dark clothing that blends with the background, as it can obscure contours of your face and shoulders.
- Don’t wear glasses unless medically necessary, and remove hats or head coverings not required for religious reasons.
- Ensure your hair does not cover your eyes or face, keeping your features fully visible.
- Avoid shadows, uneven lighting, and tilted head positions, which are common causes of rejection.
- Check Photo Quality Before Submission
- Inspect the final image for clarity, proper lighting, and accurate color representation.
- Ensure the photo is recent (usually taken within the last six months) to reflect your current appearance.
- Verify that your expression is neutral and your eyes are fully open.
- Double-check dimensions and resolution if submitting digitally to meet government standards.
Digital Passport Photos and Online Applications
| Aspect | Description | Advantages | Tips for Success | Common Pitfalls |
| Digital Submission | Submitting passport photos electronically instead of printed copies | Offers immediate feedback on whether the photo meets official requirements | Use official government portals for submission to ensure compatibility | Uploading through unofficial websites may lead to rejection |
| Photo Retakes | Ability to retake digital photos before final submission | You can instantly correct errors in expression, lighting, or head positioning | Take multiple shots and select the one that fully complies with requirements | Rushing the process may lead to using a subpar photo |
| No Mailing Delays | Eliminates postal delays compared to physical submission | Faster processing and less risk of lost or damaged photos | Ensure the digital file meets size and format requirements | Large or unsupported file types may be rejected |
| Immediate Compliance Feedback | System often flags non-compliant photos automatically | Quickly identify issues like incorrect size, background, or lighting | Review portal guidelines carefully and make adjustments before final submission | Ignoring feedback can result in application delays or rejection |
| Common Technical Pitfalls | Errors that can occur during digital upload | Can be avoided with careful review and preparation | Verify resolution, cropping, and background color; ensure file clarity | Low-resolution uploads, improper cropping, or backgrounds not pure white can trigger rejection |
What to Do if the Passport Office Rejects Your Photo
Receiving a notice that your passport photo has been rejected can be stressful, but it’s important to stay calm and understand your options. A rejected photo does not mean the end of your passport application—it simply means that the image you submitted did not meet the strict requirements set by the passport authorities. Acting quickly and methodically is key to resolving the issue without causing unnecessary delays to your travel plans.
The first step is to request clarification from the passport office. Contact them directly, either by phone, email, or through the official portal, and ask for detailed feedback on why your photo was rejected. Understanding the specific reason is crucial because it allows you to correct the exact issue rather than guessing what went wrong. Common causes for rejection include improper lighting, head tilt, shadows, background issues, or an outdated appearance. Knowing the exact problem helps ensure that your next photo meets all requirements.
Once you have clear guidance, the next step is to retake and resubmit the photo promptly. Follow all instructions carefully, paying close attention to lighting, background, expression, and size. If possible, consider using a professional photographer who is familiar with passport photo standards. Submitting a high-quality, compliant photo as soon as possible reduces processing delays and demonstrates to the authorities that you have addressed the issue responsibly. Keeping copies of the new photo and submission confirmation can also be helpful for your records.
In some cases, if your application has progressed too far in the processing cycle, the passport office may require a full reapplication. This means completing a new application form, paying the fees again, and submitting all necessary documents along with a new compliant photo. While this can be frustrating, it ensures that your application meets the official standards and avoids further complications. Acting quickly, understanding the rules, and carefully following instructions are essential strategies to navigate a photo rejection successfully and ensure your passport is issued without further issues.